A wedding website powered by Kubernetes, Flux, and GitHub Actions - Part 1
Ok, I’m getting married. As an IT guy, my first priority has to be:
How can we deploy a wedding website no one is ever going to take a look at?
Let’s start then.
Domain
Registering a domain is always the first step. Miriana is my future wife’s name, also known as Miri. My surname is Martino, also known as tino. Here you go, miritino.it.
That domain is then managed on Cloudflare and the web server is going to be exposed via Cloudflare Tunnels, as I’m using that for managing my other domains (yes, more than one, included martino.wtf which I’m super proud of).
Kubernetes on Proxmox VMs
Everything is running on a very small Kubernetes cluster hosted on an even smaller 3-node Proxmox cluster. This Kubernetes cluster is going to be used to host:
- management services: Observability stack (Grafana, VictoriaLogs, VictoriaMetrics) and 1Password Connect server. Maybe I will add a nice IdP in the future (Keycloak), who knows?
- applications: at this stage, only the wedding website
The VMs are created from an already existing Ubuntu 24.04 LTS template (nothing fancy, IIRC only cloud-init and qemu agent have been installed on this) using some terraform plans (courtesy of proxmox terraform provider).
I’ve built a nice wrapper around this provider so that the VMs are declared in the following way:
vms = {
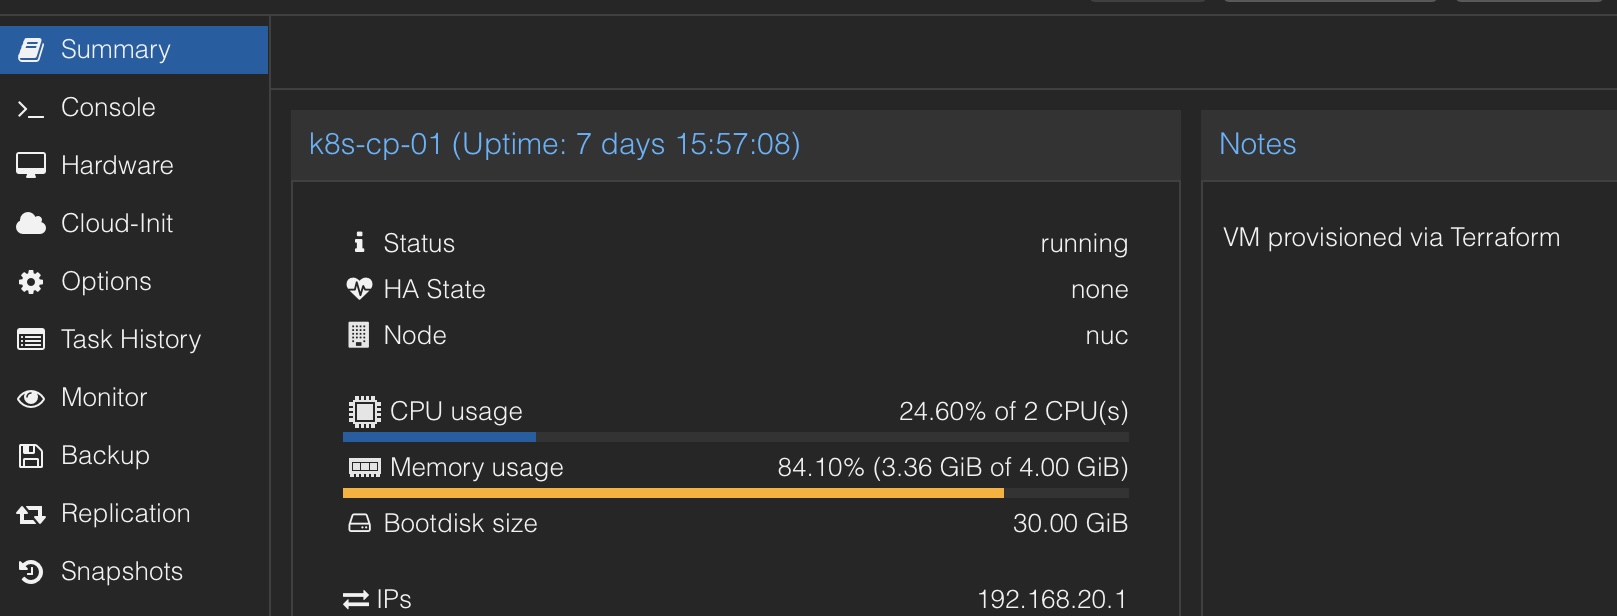
k8s-cp-01 = {
cpu = 2
disk_size = "30"
disk_location = "local-lvm"
template = "ubuntu-2404-template"
ip = "192.168.20.1",
ram = 4096,
node = "nuc",
user = "ci",
onboot = false,
network_zone = "k8s",
vm_state = "running"
tags = "k8s;k8s_cps"
hostname = "cp-01"
},
k8s-wrk-01 = {
cpu = 4
disk_size = "100"
disk_location = "local-lvm"
template = "ubuntu-2404-template"
ip = "192.168.20.11"
ram = 16384,
node = "chinuc",
user = "ci",
onboot = false,
network_zone = "k8s"
vm_state = "running"
tags = "k8s;k8s_workers"
hostname = "wrk-01"
}
}
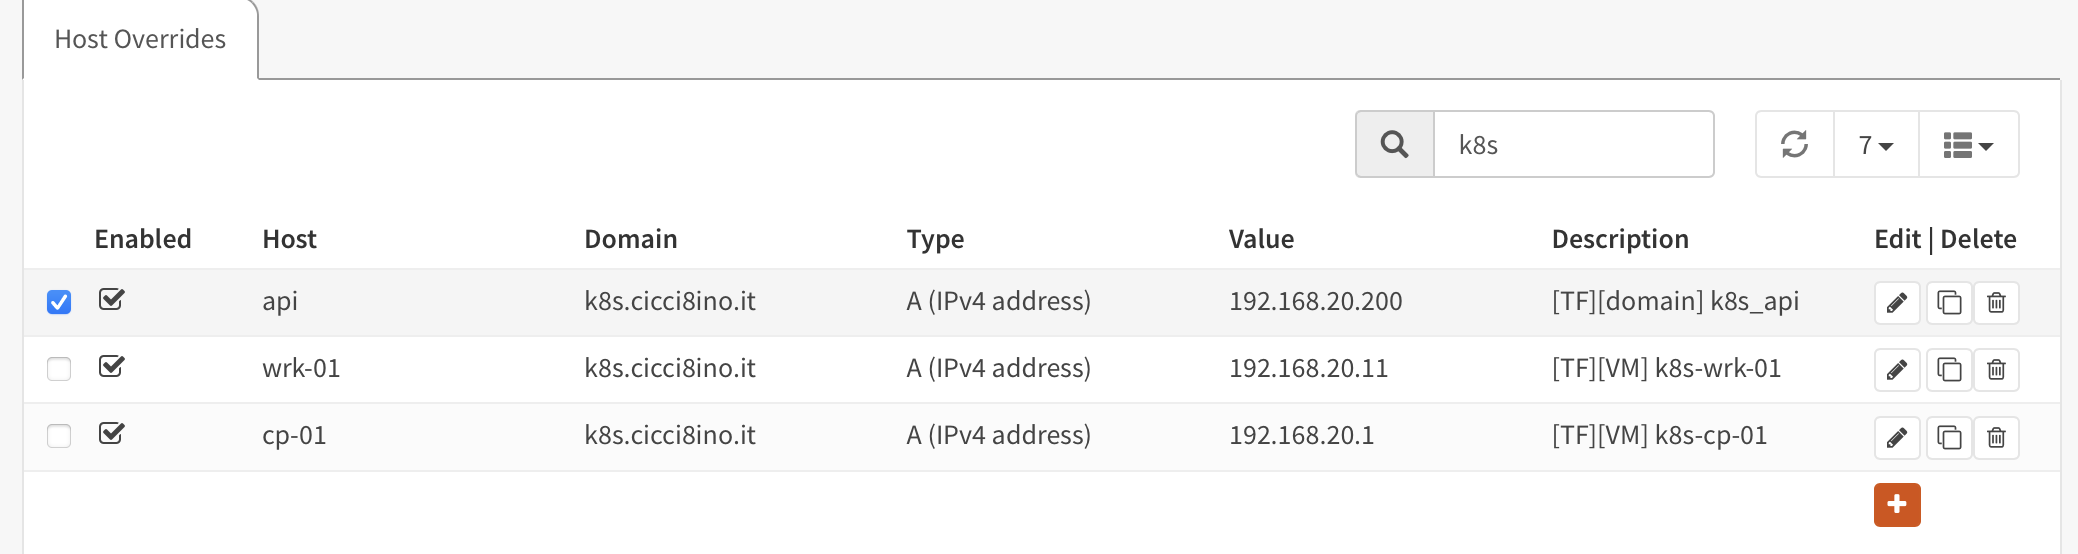
The VM is created, with the correct network interfaces with the correct VLAN tagging. The correct network configuration and the SSH public keys are applied then via cloud-init (HERE and HERE). On top of that, relevant DNS entries/firewall aliases are created in my opnsense installation (courtesy of opnsense terraform provider).
Then a magic Ansible playground is executed, which will:
- install some useful tools (i.e.
netools) - install the container runtime (
cri-o, in my case) - install
kubeadmandkubelet - do some preparation stuff on the OS
- create the cluster, bootstrapping the controlplane
- join the worker node to the cluster
- install Cilium CNI
I’m exposing the API endpoint behind a VIP, so I’m using a specific kubeadm command to spin up the cluster, specifying the control plane endpoint.
kubeadm init --control-plane-endpoint={{ control_plane_endpoint }} --apiserver-bind-port={{ apiserver_bind_port }} --cri-socket={{ cri_socket }} --pod-network-cidr={{ pod_network_cidr }} --ignore-preflight-errors=FileContent--proc-sys-net-bridge-bridge-nf-call-iptables --skip-phases=addon/kube-proxy --upload-certs
The relevant Ansible variable is control_plane_endpoint.
control_plane_endpoint: api.k8s.cicci8ino.it
Behind that, an HAProxy VIP is going to load balance to the real control plane servers behind the scenes (with a dumb TCP health check that I should replace with a proper https health check endpoint). This will make things easier when I decide (probably never) to add new master nodes.
The cluster is now ready. Now things start to get interesting.
Cluster Setup
Let’s set up Odyssey (have you ever seen Apollo 13?), my small Kubernetes cluster.
CNI
A Kubernetes cluster needs a Container Network Interface, aka CNI. I will use Cilium. This is installed by the same Ansible playground, simply applying the official helm chart.
- name: Add cilium helm
  kubernetes.core.helm_repository:
    name: cilium
    repo_url: https://helm.cilium.io/
    force_update: true

- name: Deploy cilium helm chart
  kubernetes.core.helm:
    name: cilium
    chart_ref: cilium/cilium
    release_namespace: "{{ cilium_namespace }}"
    chart_version: "{{ cilium_version }}"
    kubeconfig: "{{ kubeconfig_dest }}"
    values:
      kubeProxyReplacement: True
      k8sServiceHost: "{{ control_plane_endpoint }}"
      k8sServicePort: "{{ apiserver_bind_port }}"
Bootstrap
Cluster is now ready to get some real love. So a nice Taskfile will make sure that:
cert-managernamespace is created. This is going to be used to create certificates from the Kubernetes sub-CA I’ve already created on myopnsenseinstallation
 That sub-CA was generated from my opnsense root CA.
- The sub-CA certificate and the private key are added in
cert-managernamespace as secret, fetched from my 1Passwordhomelabsafe withopCLI
op run --env-file="./.op.env" -- <command>
1Password connect, the needed 1Password op-credentials andexternal-secrets-operatorare installed. 1Password connect is going to be exposed via thenginxIngress Controller when installed in the next steps.
I’ve decided to rely on
external-secrets-operator(akaESO) even though 1Password already has something similar (1Password K8s operator) because it was much easier for it to trust a custom certificate generated bycert-managersigned by the cluster sub-CA.
Here you can see an extract of the tasks.
  deploy-1password-connect-secret:
    desc: "Create 1password namespace and deploy the connect secret"
    cmds:
      - kubectl create ns 1password || true
      - kubectl delete secret op-credentials --namespace 1password || true
      - |
        kubectl create secret generic op-credentials \
          --namespace 1password \
          --from-literal=1password-credentials.json={{.ENCODED_OP_CREDENTIALS}} \
          --type=Opaque
Where some environment variables are populated by the OP CLI.
export OP_CREDENTIALS=op://Homelab/1p-homelab-credentials/1password-credentials.json
HERE some additional details.
Flux
Then:
- Flux Operator is installed from the official helm chart
  flux-operator-bootstrap:
    desc: "Bootstrap Flux Operator"
    cmds:
      - |
        helm install flux-operator oci://ghcr.io/controlplaneio-fluxcd/charts/flux-operator \
        --namespace flux-system \
        --create-namespace
- A
flux secretis created to the git repo containing all the manifests that flux is going to reconcile - a
FluxInstanceis created by the Flux Operator using akustomizeoverlay
  deploy-flux-instance:
    desc: "Build flux instance kustomize overlay and deploy"
    cmds:
      - kubectl apply --kustomize ./kustomize/overlays/{{.CLI_ARGS}}
resources:
  - ../../base

patches:
  - patch: |-
      - op: add
        path: /spec/sync/path
        value: "clusters/odyssey"
      - op: add
        path: /spec/sharding
        value:
          shards:
            - mgmt
            - infra
      - op: add
        path: /spec/cluster/tenantDefaultServiceAccount
        value: flux
    target:
      kind: FluxInstance
      name: flux
      namespace: flux-system
The kustomize patch will mainly enable sharding (not that I really needed it, considering how small my cluster is, but I wanted to have a quick look at it).
Recap
At this stage, Odyssey is ready to reconcile stuff. It now has:
1password connectserver, that can be reached by any other future Kubernetes cluster or any other service that needs credentials from my 1Password dedicated safe.cert-manager, that will manage ingress certificate generation from now on.
In the next episode, we are going to take a look at how I’ve structured my GitOps repository and how I’m deploying the website in the cluster.